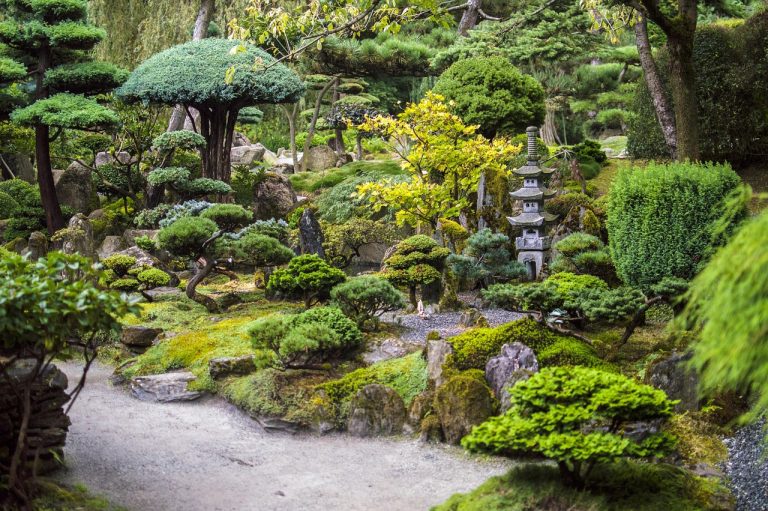
A garden path can transform the way your outdoor space looks and feels. Not only does it add a functional element, guiding visitors through your garden, but it also enhances the overall aesthetic of your landscape. Whether you prefer a charming, rustic look or a sleek, modern design, creating a beautiful garden path is a rewarding DIY project that adds both practicality and beauty to your garden.
In this step-by-step guide, we’ll walk you through the process of building your own stunning garden path. Let’s get started!
Step 1: Plan Your Path
Before you start laying any stones or pavers, take the time to plan your path. The design and layout are key to achieving a cohesive and attractive garden feature.
Decide on the Path’s Purpose: Is the path purely decorative, or does it serve as a functional way to navigate your garden? Will it lead to a specific area like a seating nook, a water feature, or a vegetable garden? Knowing the path’s purpose will help you design it accordingly.
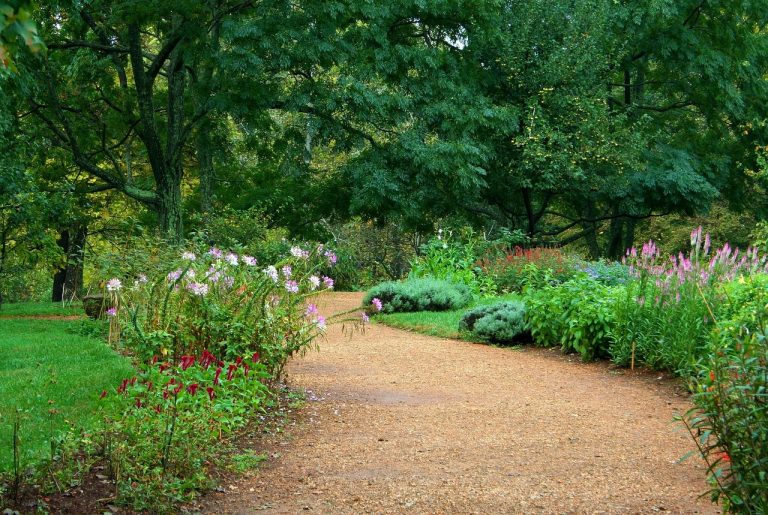
Choose the Shape: A straight path can create a formal, orderly look, while a meandering, curved path gives a more relaxed, natural feel. Consider your garden style and what will complement it best.
Measure the Path: Determine the length and width of the path. Make sure it’s wide enough to comfortably walk along, with enough space for two people to pass through if necessary. A width of 2 to 3 feet is typical.
Choose Materials: Select materials that complement your garden’s design. Popular choices include flagstone, gravel, bricks, concrete pavers, and wood planks. Each material has its own advantages, from ease of installation to aesthetic appeal.
Step 2: Gather Your Materials and Tools
Now that your design is in place, gather the materials and tools needed for the job. You’ll need:
Materials: Pathway material (stones, gravel, bricks, or pavers), sand or gravel for base layer, edging material (optional, but helps keep the path tidy), and weed barrier fabric (optional).
Tools: Shovel, rake, tape measure, level, rubber mallet, tamper (for compacting materials), and a garden hose (for marking the path’s shape).
Step 3: Mark the Path
Using a garden hose or string, mark the edges of your path according to the design you’ve chosen. This is an essential step because it gives you a clear outline of where to dig and how wide to make the path.
Tip: If you want your path to curve smoothly, keep the hose slightly flexible to shape it as you go. Alternatively, use wooden stakes and string for more rigid lines if you’re designing a straight path.
Step 4: Dig the Path
Once the path is marked, it’s time to start digging. You’ll want to dig down to a depth of 3 to 4 inches for a gravel or stone path. For concrete or brick paths, you may need to dig deeper, around 6 inches.
Step 5: Add the Base Layer
After digging out the path, it’s important to create a solid base layer. This is especially crucial for gravel paths, as it helps with drainage and stability.
Base Layer Material: For most paths, a layer of sand or crushed gravel works well. Pour about 2 to 3 inches of your base material into the dug-out area. Use a rake to spread it evenly, then compact it using a tamper or a piece of wood to create a firm base.
Weed Barrier (Optional): If you’re concerned about weeds growing through your path, consider adding a weed barrier fabric on top of the base layer. This will help prevent unwanted vegetation from pushing through the path.
Step 6: Lay the Pathway Material
Now for the fun part! Lay your chosen materials on top of the base layer. Whether you’re using stones, pavers, or gravel, take care to place each element carefully to achieve your desired look.
Stones or Pavers: If you’re using large stones or pavers, start by placing them at one end of the path and working your way down. Leave small gaps between each stone to allow for drainage and a more natural look. Use a rubber mallet to gently tap them into place for a stable, even surface.
Gravel Path: If you’ve chosen gravel, pour it evenly over the base layer and spread it out with a rake. Ensure an even depth of about 2 inches. Gravel paths often require occasional topping up, so plan to refresh the surface every few years.
Bricks or Flagstone: For a more structured look, bricks or flagstone can be laid in a herringbone or running bond pattern. Be sure to space them evenly and keep them level.
Step 7: Add Edging (Optional)
Edging helps define the path’s boundaries and can give your garden a neat, polished appearance. There are various options for edging:
Metal or Plastic Edging: Easy to install and relatively inexpensive, metal or plastic edging keeps your pathway materials contained and prevents grass from creeping in.
Wood or Stone Edging: For a more rustic or natural look, you can use wood logs or stone to edge the path. This works especially well with gravel or mulch paths.
Tip: If you’re using loose materials like gravel, consider setting up deeper or higher edging to prevent the gravel from spilling over into your garden.
Step 8: Fill Gaps and Compact
Once your pathway material is laid, check for any gaps between stones or pavers and fill them with smaller gravel or sand to create a seamless, cohesive look.
Compaction: Use a rubber mallet or tamper to gently compact the stones or pavers into the ground. This will help stabilize the path and prevent shifting over time.
Tip: For a finer finish, you can sprinkle a little sand across the surface of the path and use a broom to sweep it into the cracks between stones or pavers. This will help lock them in place.
Step 9: Clean Up and Enjoy
After everything is in place, take a step back and admire your work. Remove any excess sand or gravel from the path’s surface, and give the area a good final sweep. Watering the path lightly can help settle everything into place.
Conclusion
Creating a beautiful garden path is a fantastic way to enhance the functionality and beauty of your garden. With a little planning, the right materials, and some elbow grease, you can build a path that adds charm, structure, and a sense of elegance to your outdoor space.
Need help bringing your garden path ideas to life? Our team of landscape experts is here to assist with design, materials selection, and installation. Contact us today, and let’s create a garden path you’ll love walking on for years to come!